
How to build a custom bot
Goal
Create your own reusable AI assistant — with its own name, personality, instructions, and knowledge. Build it by chatting (Vibe Build) or by filling in settings (Configure).
Quick path
- Go to Bot Builder and click Build Bot; give it a name.
- Describe it in Vibe Build, or fill in details in Configure.
- Click Publish — your bot is then usable in any chat.
Step-by-step
-
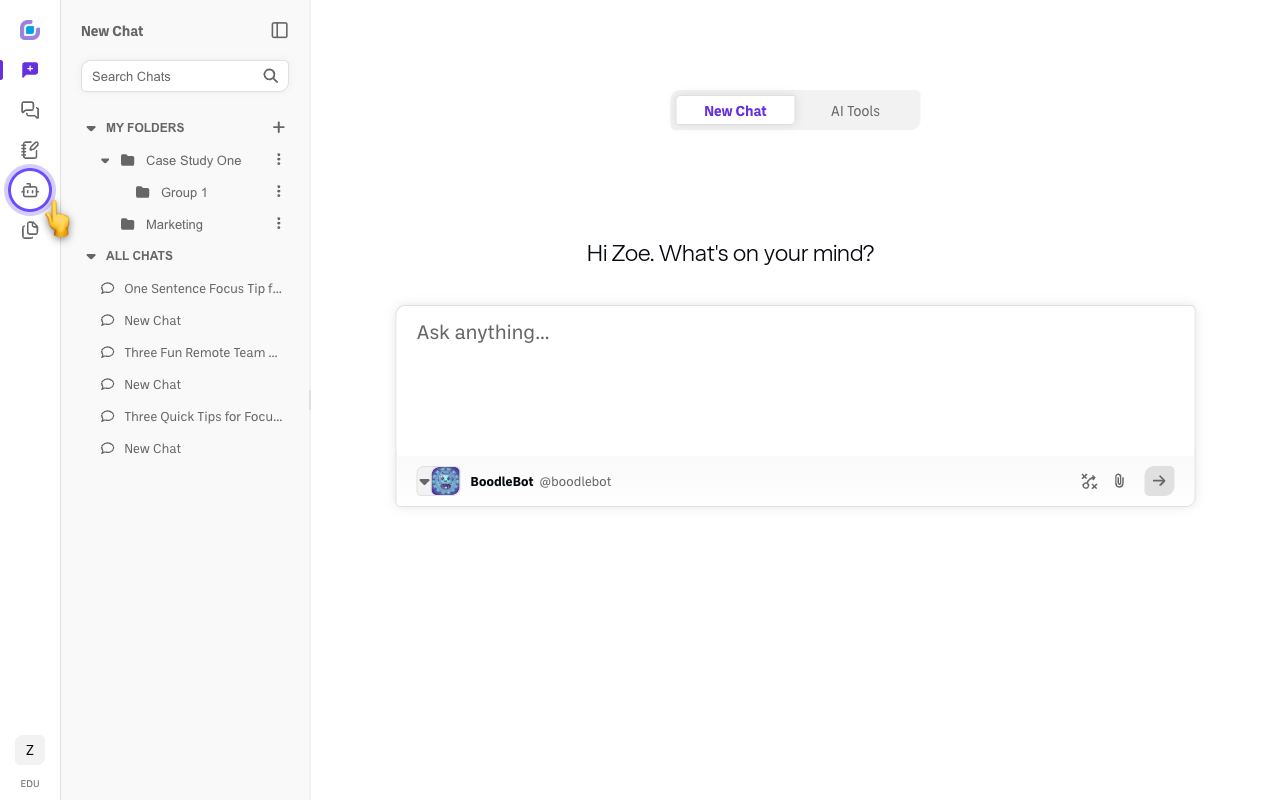
Open Bot Builder and start a new bot. Click the bot icon in the left sidebar.
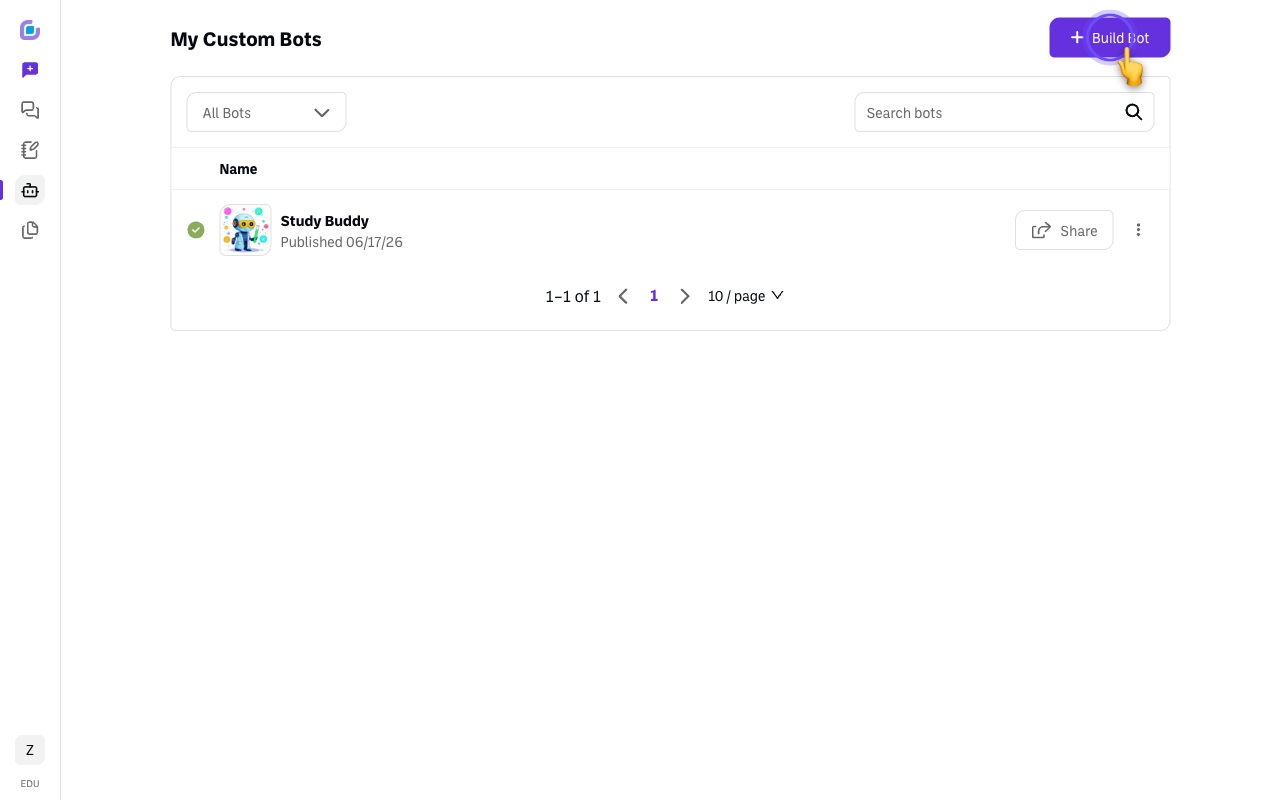
Click Build Bot at the top-right.
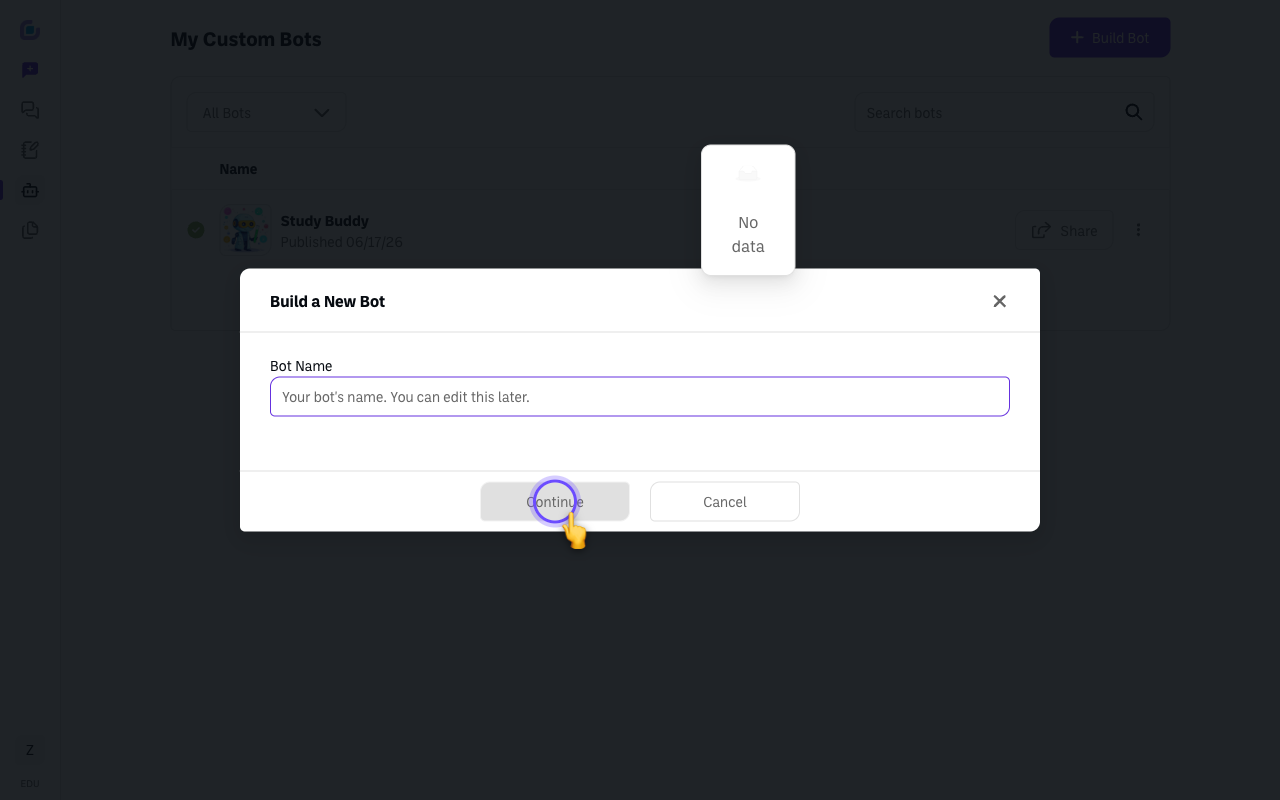
Give your bot a name and click Continue.
-
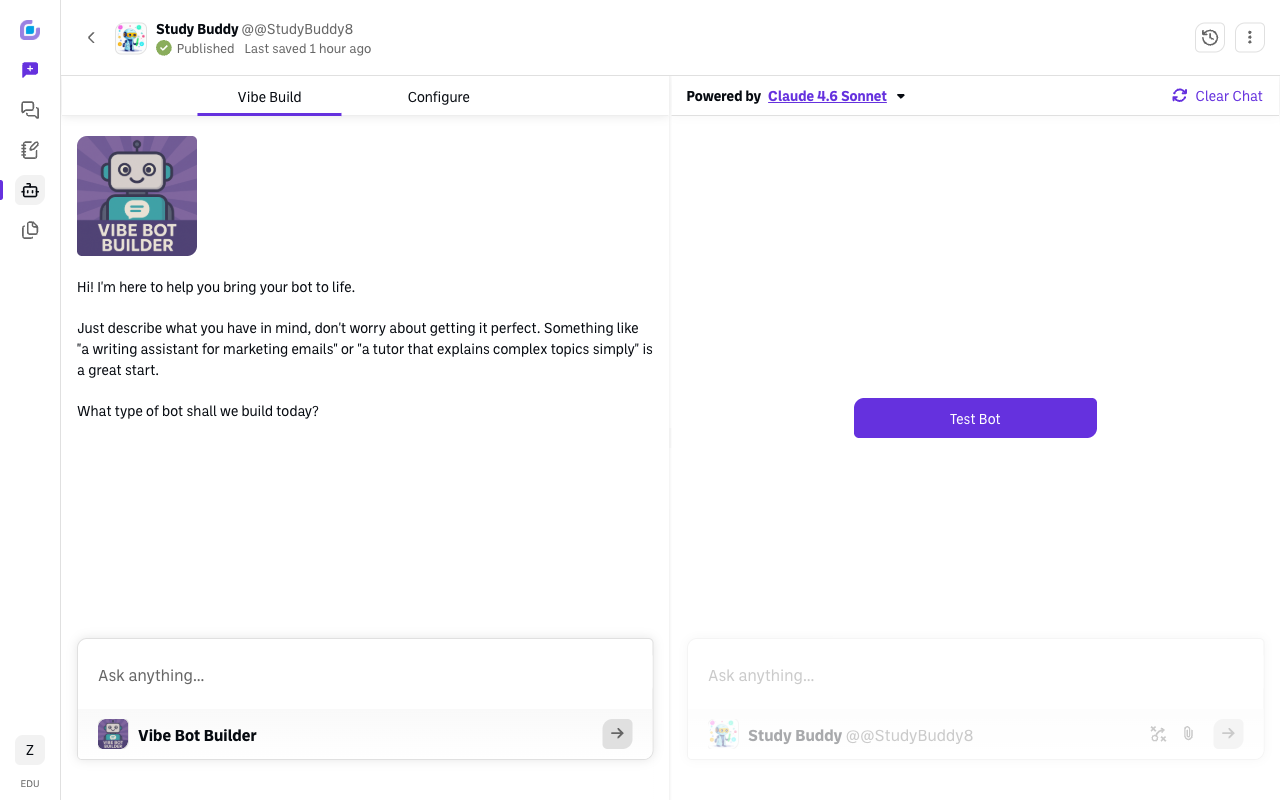
Vibe Build — describe your bot in plain language. On the left, the Vibe Bot Builder assistant asks what you want ("a tutor that explains complex topics simply") and sets it up for you. Try it any time in the Test Bot panel on the right.
-
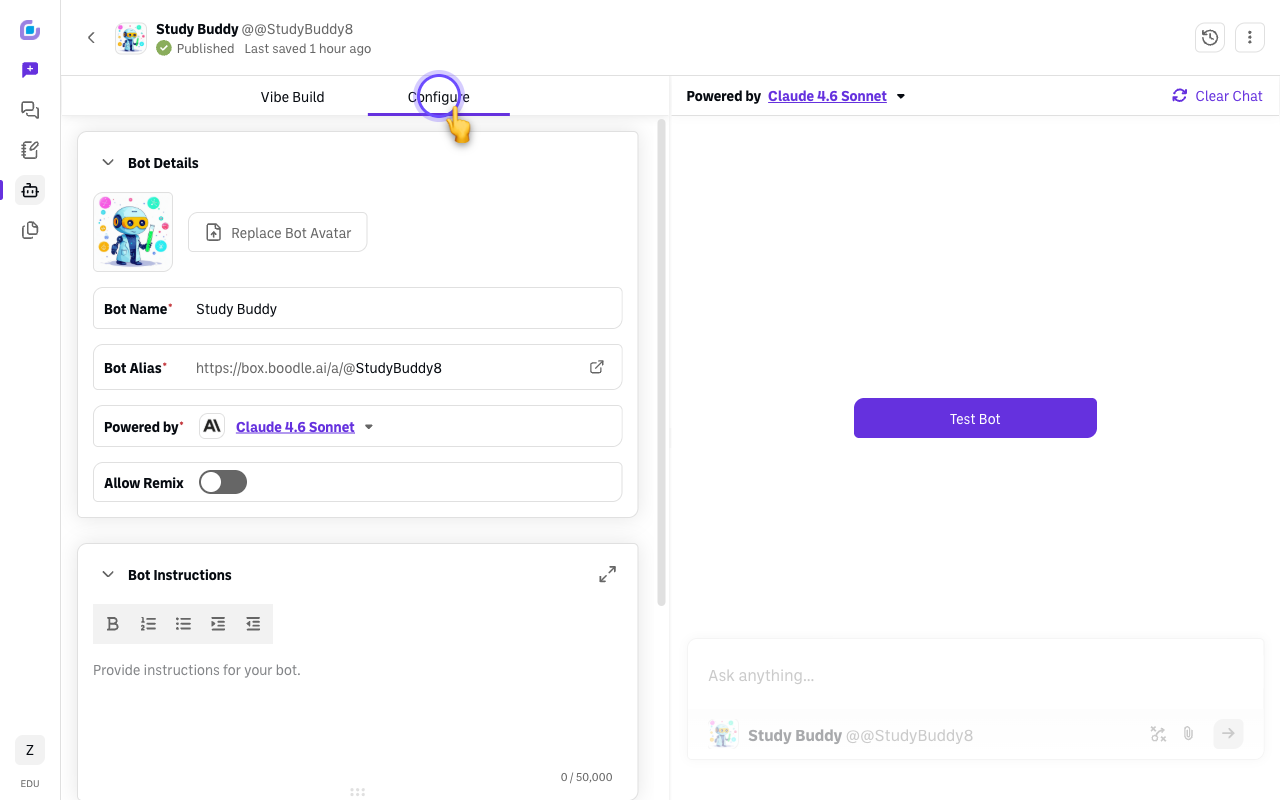
Configure — fine-tune the details (optional). Switch to the Configure tab for form-based control: Bot Details (name, alias, the model it's Powered By), Bot Instructions, Knowledge, and Bot Communications (like its greeting).
-
Click Publish when it's ready. Pick your bot from the model picker, or type its
@alias, in any chat.
Verify it's working
- Open the bot in a chat and send a test prompt; confirm the response matches its purpose. (Ask it "What are your instructions and limitations?" — every BoodleBox bot describes its own setup.)
What to do next
Building the bot is step one. Writing instructions that work, attaching the right knowledge, and testing before you hand it to anyone are what make it useful. See the Custom bot building guide for the whole sequence in order.
Still stuck?
Your bot stays a Draft and auto-saves as you work, and the version history (clock icon) lets you roll back. Email success@boodle.ai — typical response within 8 business hours.