
How to create a class and an assignment
Goal
Set up a class, build an AI-powered assignment from scratch, and assign it to your class with due dates.
Quick path
Classroom → Taught by Me → Create Class; fill in the details and save.
Assignment Library → Create Assignment; name it and Continue.
Build it across the tabs (Details, Directions, Learning Objectives, Bots, Settings), Publish, then add it to a class.
Create a class
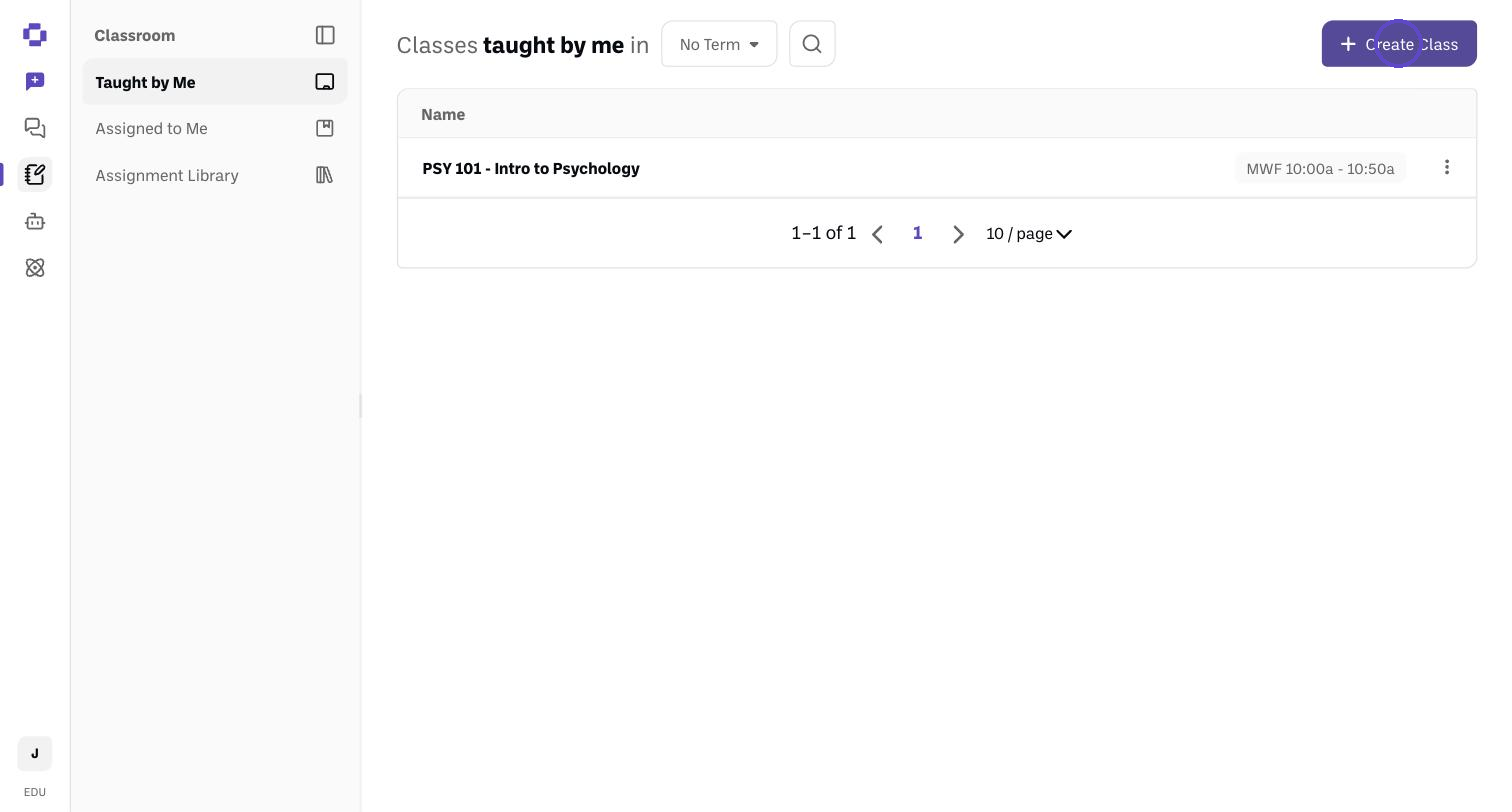
Go to Classroom → Taught by Me and click Create Class.
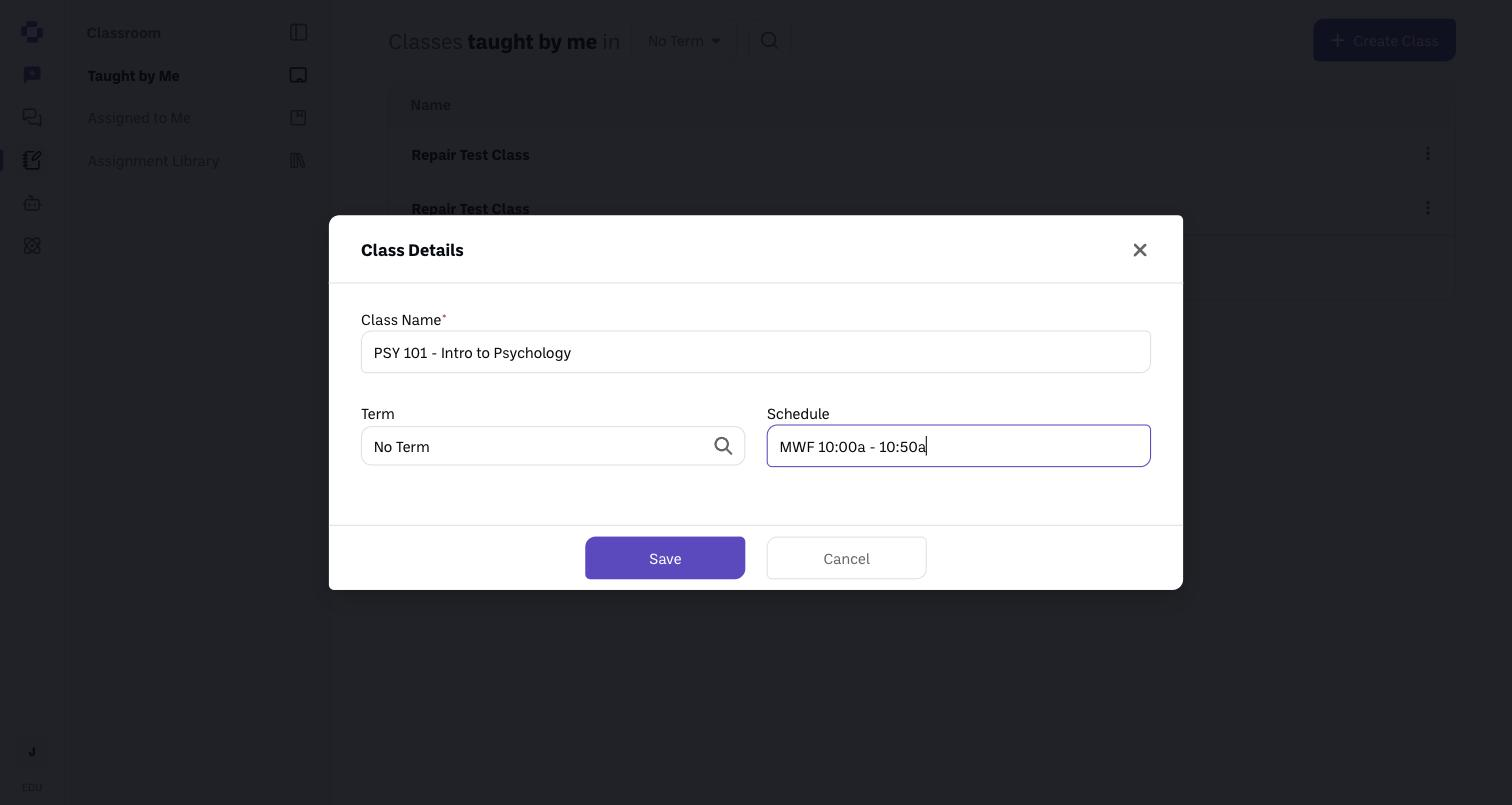
Fill in the class details (class name, and term/section if you use them) and click Save. The class appears under Taught by Me.
Build an assignment
Go to the Assignment Library and click Create Assignment. Give it a name and a short description, then click Continue — you land in the assignment builder. It has five tabs down the left: Details, Directions, Learning Objectives, Bots, and Settings.
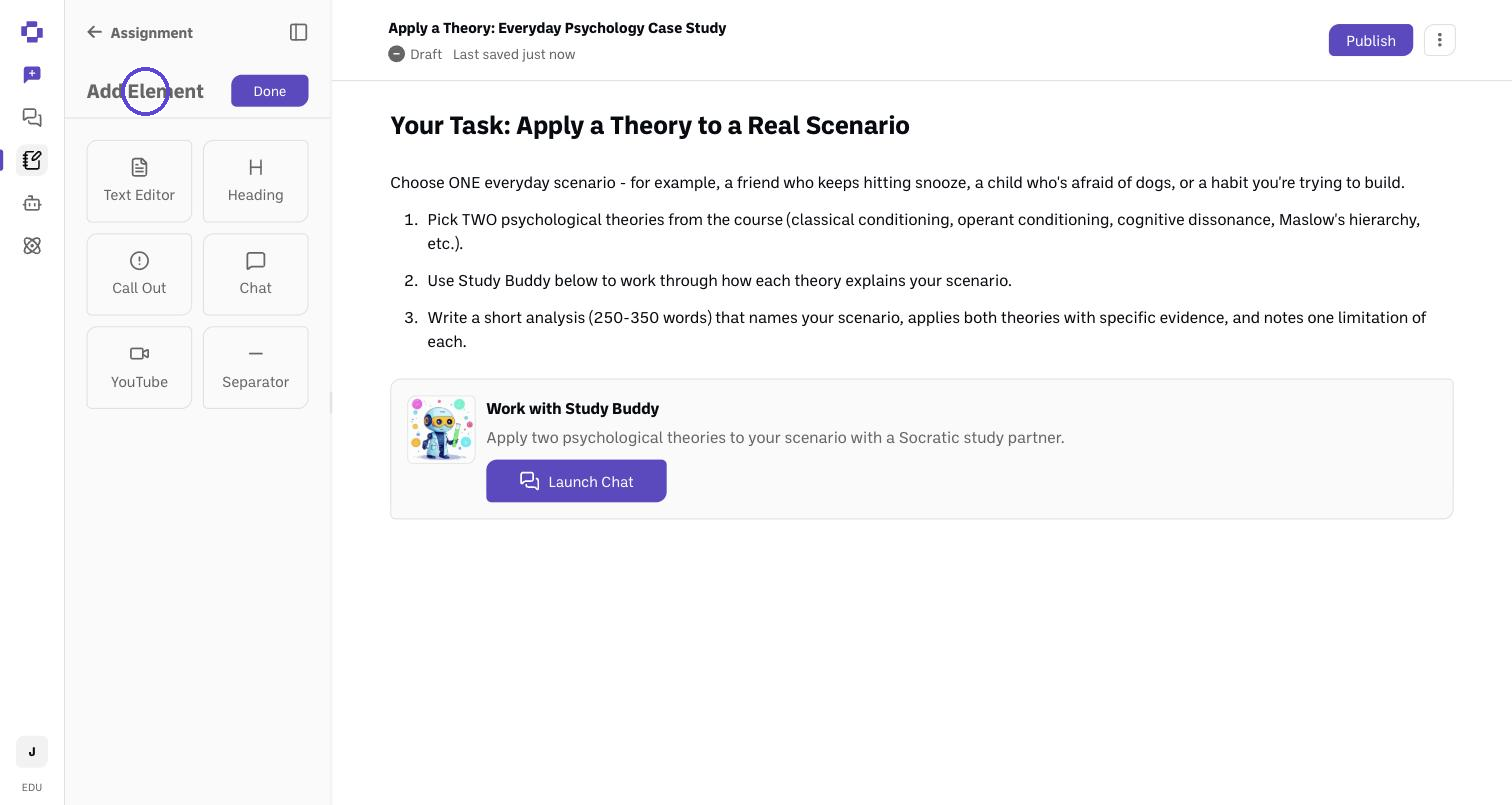
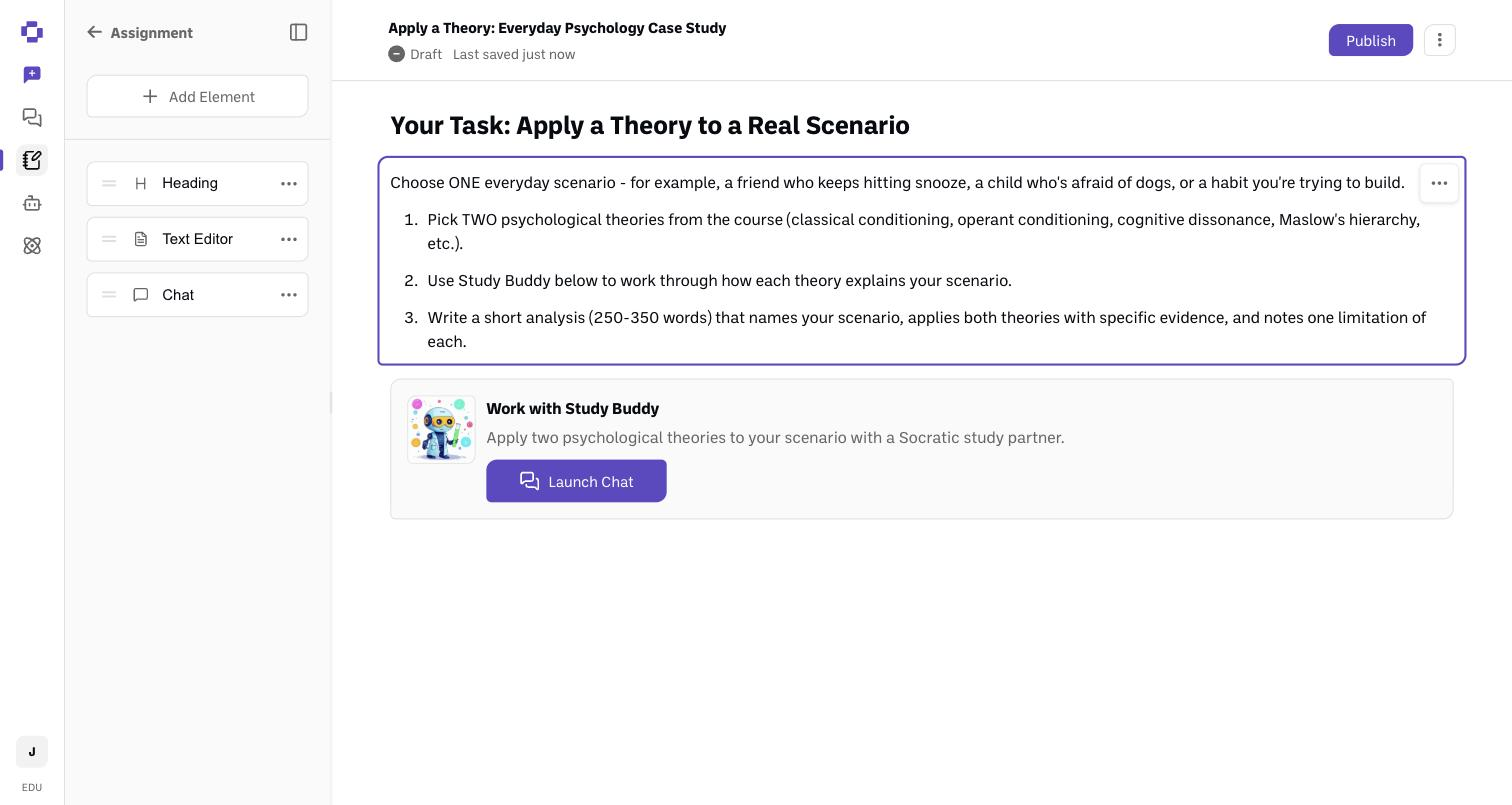
Directions — add the content students see. Click + Add Element and pick from six block types: Heading, Text Editor, Call Out, Chat (an AI chat powered by a bot — including your own custom bot), YouTube, and Separator.
Build it out. The example below is a PSY 101 "Apply a Theory" case study — a heading, the task instructions, and a Chat element powered by a custom Psych Theory Coach bot.
Learning Objectives (optional). Spell out what students should be able to do. The AI in a student's assignment chat can see your Directions and Learning Objectives, so clear, specific wording here gives students better answers. If you edit them later, students' assignment chats pick up the change.
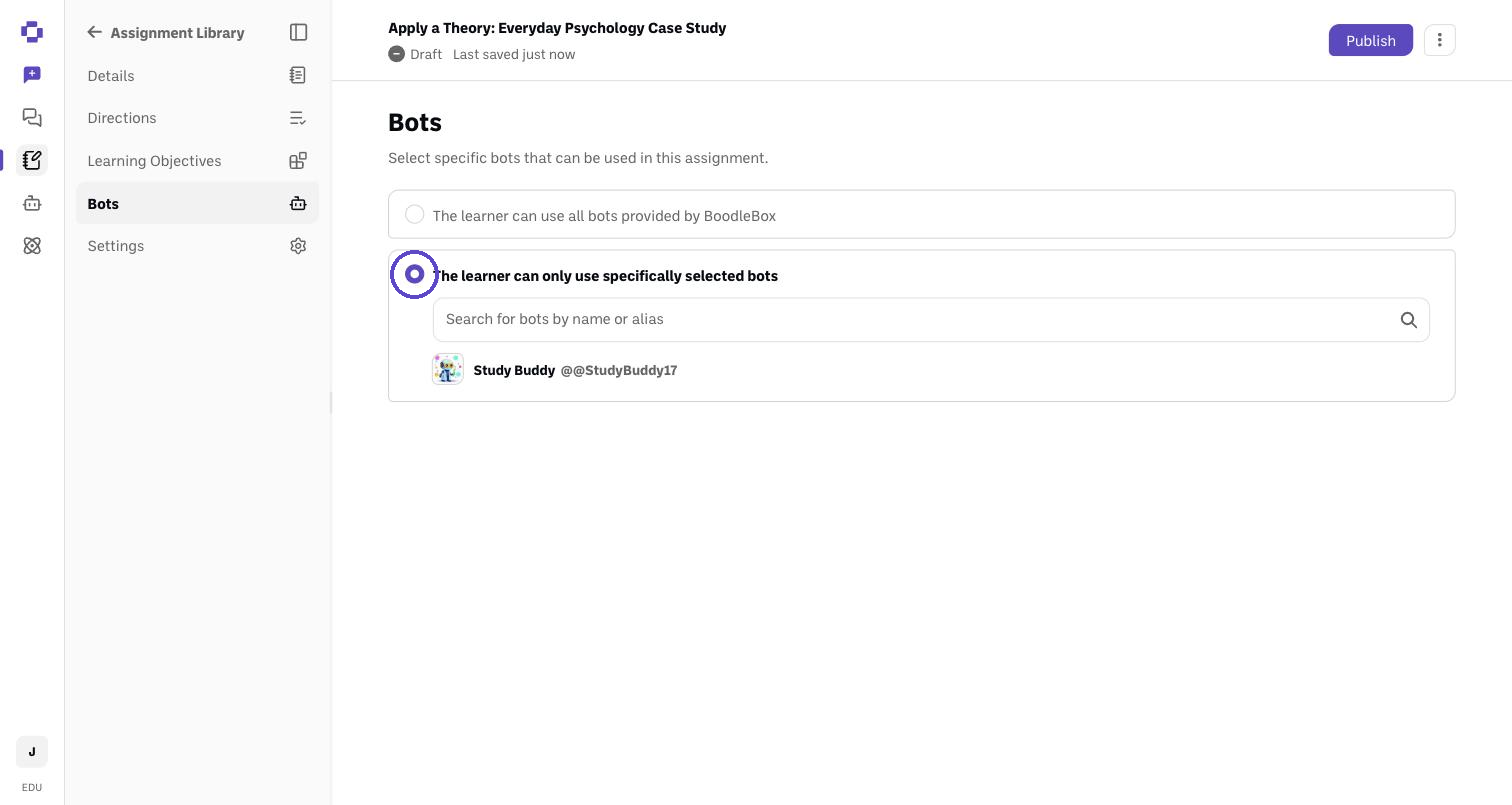
Bots — sandbox which AIs students may use. Choose all bots provided by BoodleBox, or only specifically selected bots and search for the ones you want. In the example, the assignment is locked to just the custom Psych Theory Coach bot — so that's the only AI students can use here.
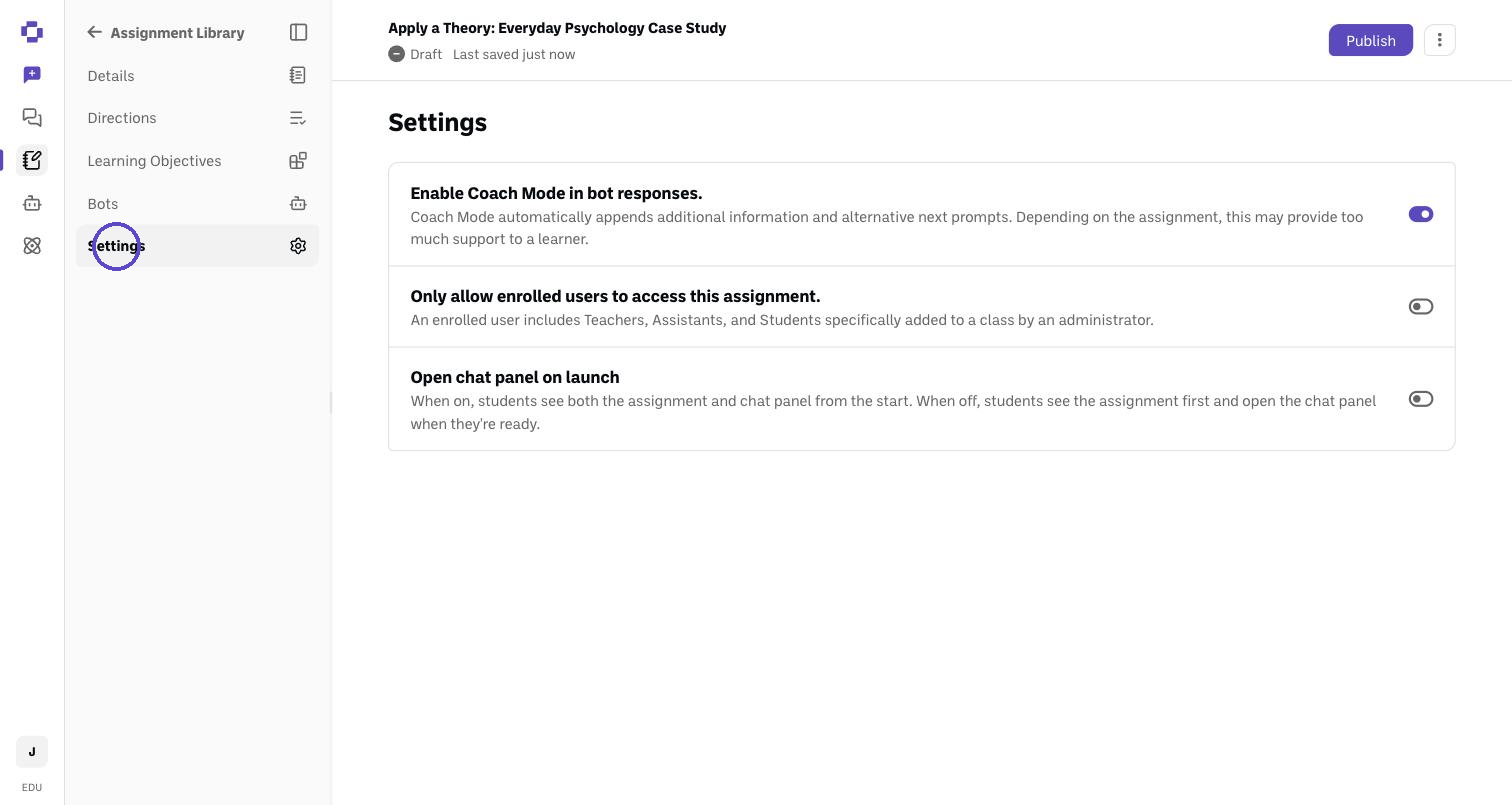
Settings. Toggle Coach Mode (the bot appends tips and suggested next prompts) and Only allow enrolled users to access this assignment.
Publish when it's ready. It auto-saves as a Draft until you do.
Assign it to a class
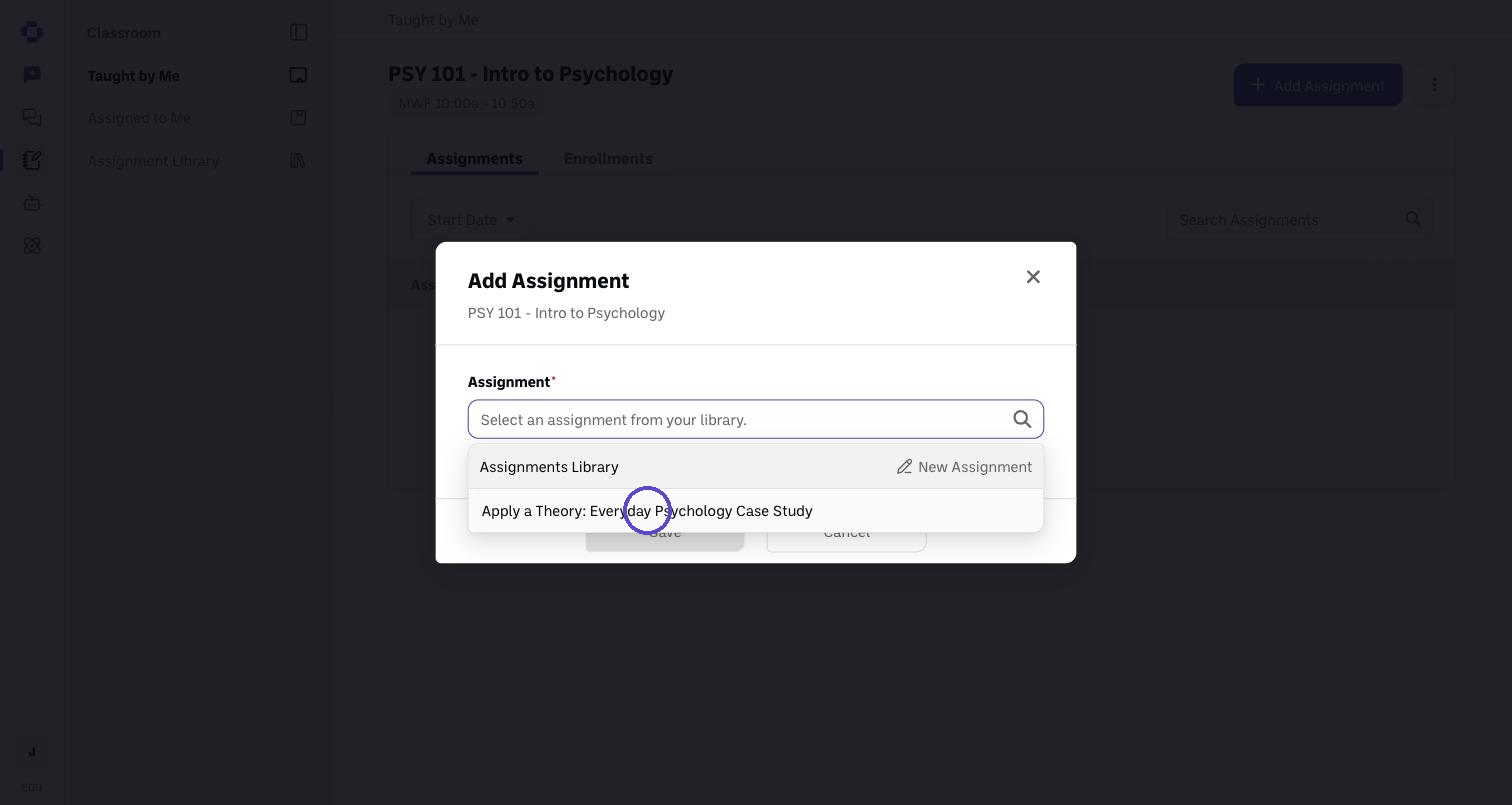
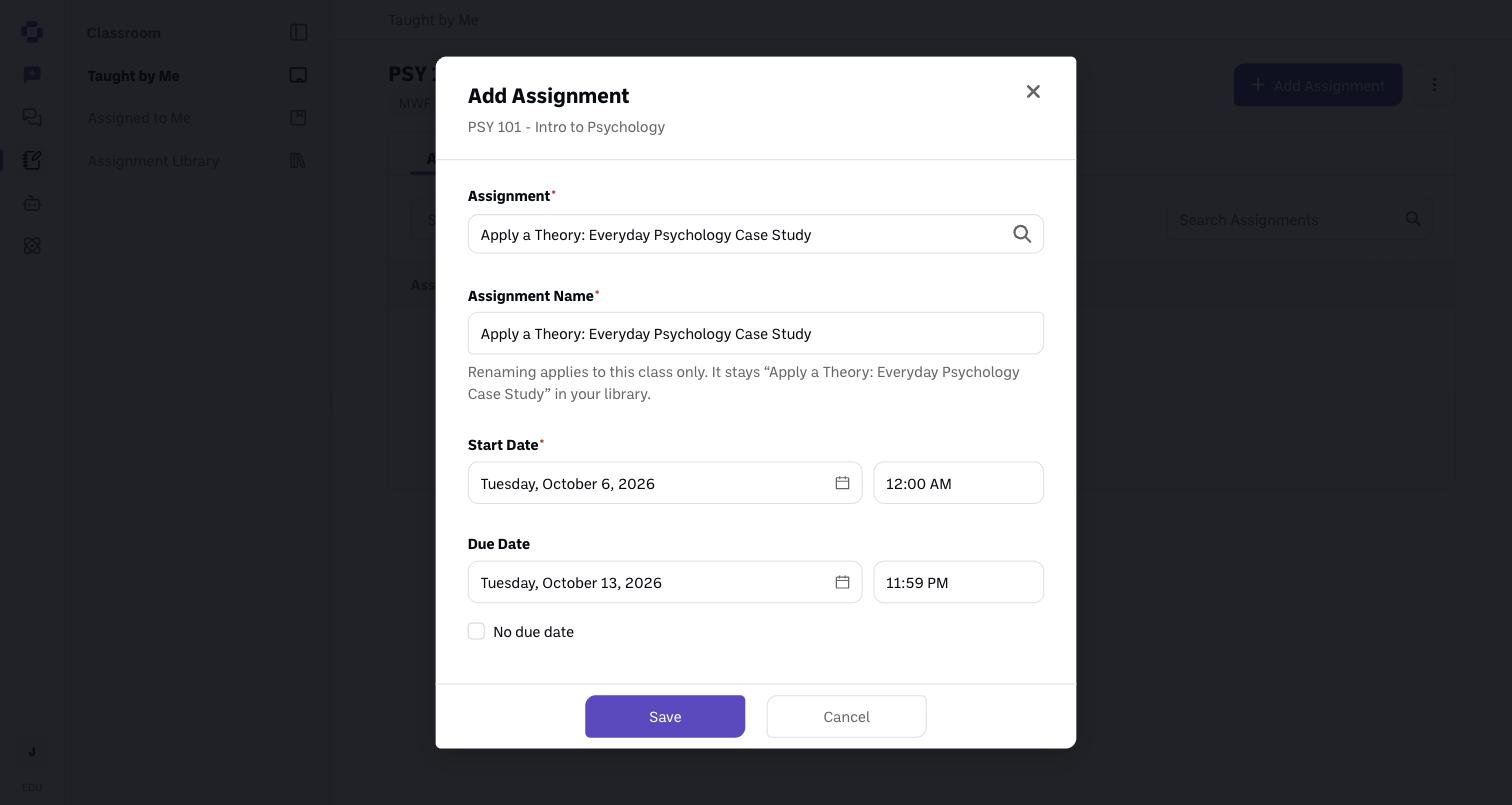
Open your class under Taught by Me and click Add Assignment. Pick the assignment from your library, give the class copy a name (it can differ from the library name), and set the start date and time. The due date is optional: leave it, or tick No due date for self-paced work. Enrolled students then see it under Assigned to Me.
Change the name or dates later. In the class, open the assignment's three-dot menu and choose Edit. The same Assignment / Class Details window opens, and you can rename the class copy and change the start date, due date, and times, or switch to No due date. Students can preview an assignment before its start date but cannot begin it. If the date picker does not respond, refresh the page and try again.
Good to know
Workspace Admins can see that a class exists and who's enrolled in it, account-wide — not just classes they created themselves. They can't see student usage or the assignments themselves; that stays with the class's own Teachers and Assistants.
Adding an assignment to a class creates a copy for that class. Renaming the copy does not rename the version in your Assignment Library, and the other way around. If you cannot find an assignment in the library, search for the name you originally gave it there.
Deleting an assignment from a class removes it for enrolled students right away, along with their access to it. Deletion cannot be undone. If you only want to stop new submissions, change the due date instead.
If an assignment has more than one Chat element, you choose how each one opens. In the Chat element's settings, under On launch, pick Open in current chat to have that bot join the student's existing chat, or Open in new chat to keep it separate.
Verify it's working
The class shows under Taught by Me.
The published assignment is visible to enrolled students under their Assigned to Me tab.
Still stuck?
See How to enroll students in a classroom and How to build a custom bot (you can drop your own bot into a Chat element). Reach out through our contact form and we'll get back to you.