
How to create terms for classes
Goal
Create an academic term (like a semester) so your classes are organized under it.
You need a team workspace for this. Click your initials at the bottom-left to see your workspaces — the one you're in has a check mark next to it. If that's your Personal Account, click the team workspace you want instead; Workspace Settings doesn't exist on a Personal Account.
Quick path
Go to Workspace Settings → Terms.
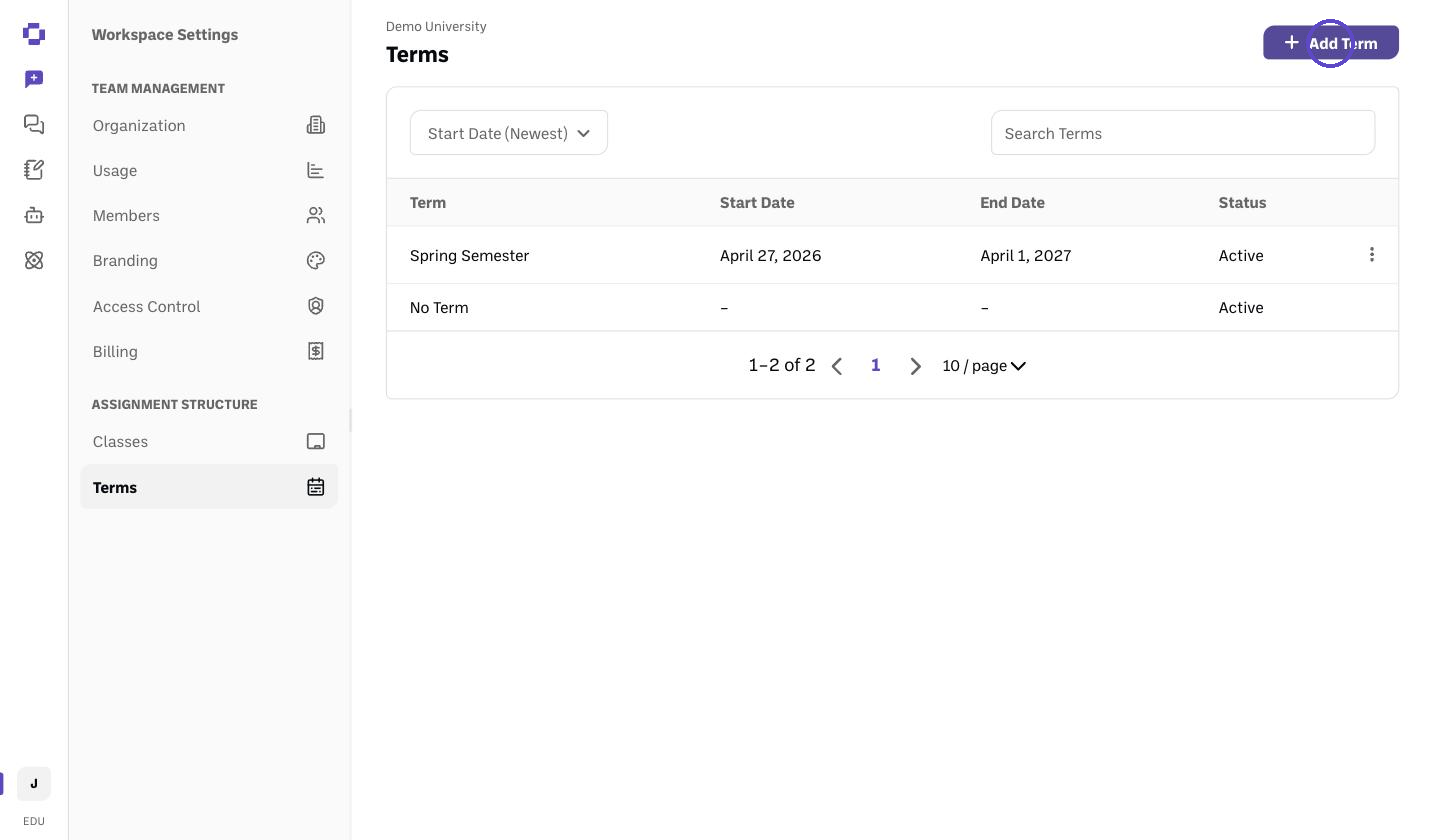
Click Add Term.
Enter a name and date range, then save.
Step-by-step
Open Terms. Go to Workspace Workspace Settings → Terms.
Create a term. Click Add Term, give it a name (e.g., Fall 2026) and a date range.
Save. Your classes can now be assigned to this term when you create them.
Good to know
Terms are like semesters in an LMS — they group your classes.
Any team member can create a term — it isn't limited to Admins. Best practice is to let your Admin handle term creation, though, so terms stay consistent instead of getting duplicated across the team.
Terms are shared across your whole team, and deleting one is destructive. A term created inside Assignment Structure isn't private to the admin who creates it — once created, it's available to everyone on the team, and any admin or teacher can assign a class to it. Deleting a term deletes all courses, assignments, and submissions associated with it, account-wide — not just the term itself. Affected classes need to be recreated and re-associated with an active term before they reappear in the classroom. There is no undo.
Verify it's working
The new term appears in the Terms list and is selectable when creating a class.
Still stuck?
Reach out through our contact form and we'll get back to you. (See also How to create a class and an assignment.)